If you want to install Team Password Manager on a Windows system you will also need to install the required server components to run it: Apache, PHP and MySQL. You can either install these "manually" one by one, or you can use something like XAMPP.
XAMPP (https://www.apachefriends.org) provides a convenient and quick way to install Apache, PHP and MySQL (and more) on Windows systems so that you can quickly proceed to install Team Password Manager and have a system up and running in no time.
This document will guide you in the installation of XAMPP and Team Password Manager. It has the following sections:
Note: this guide uses Windows 7, but you can install Team Password Manager on almost all Windows systems, from XP to Windows 10.
1. Installing XAMPP
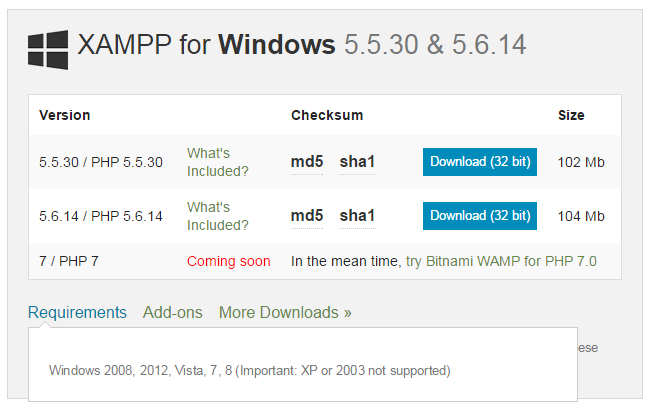
1.1 Download XAMPP from . Check the requirements section to choose which version of XAMPP to use depending on your Windows system. Remember that Team Password Manager requires at least PHP 5.6. For this tutorial we choose XAMPP v.5.6.14. Note: you can also use PHP 7.0+, but please do not choose versions with PHP 7.1 as this version is not supported by Team Password Manager yet.
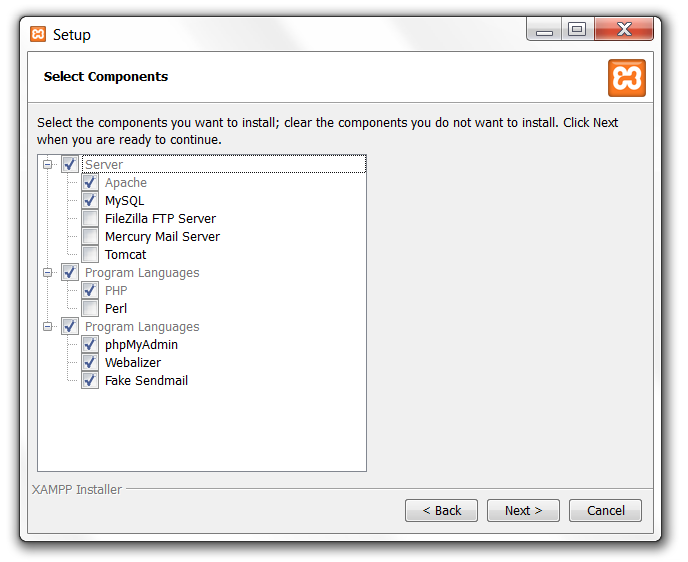
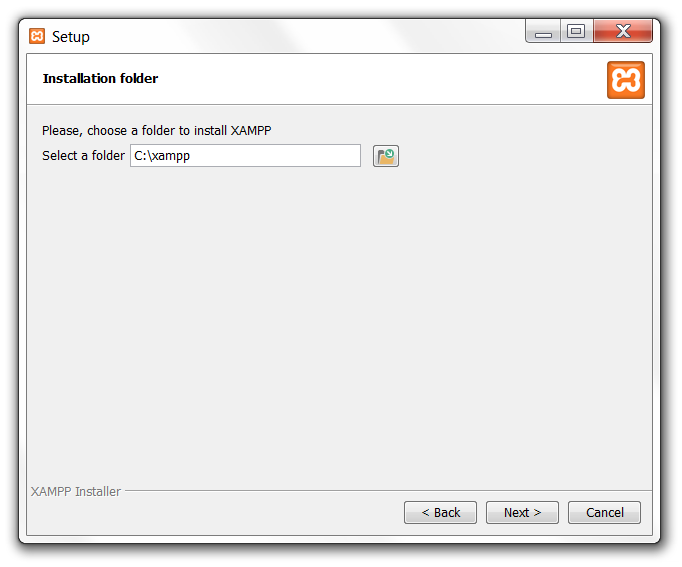
1.2 Execute the XAMPP installer. You can select all the components or just the ones required to run Team Password Manager (Apache, PHP and MySQL). Select also phpMyAdmin, we'll use it to create the database. Also, for this tutorial, we're going to be using the default folder which is c:\xampp, but you may choose another one (there's an UAC warning when you execute the installer that you can ignore if you use c:\xampp).
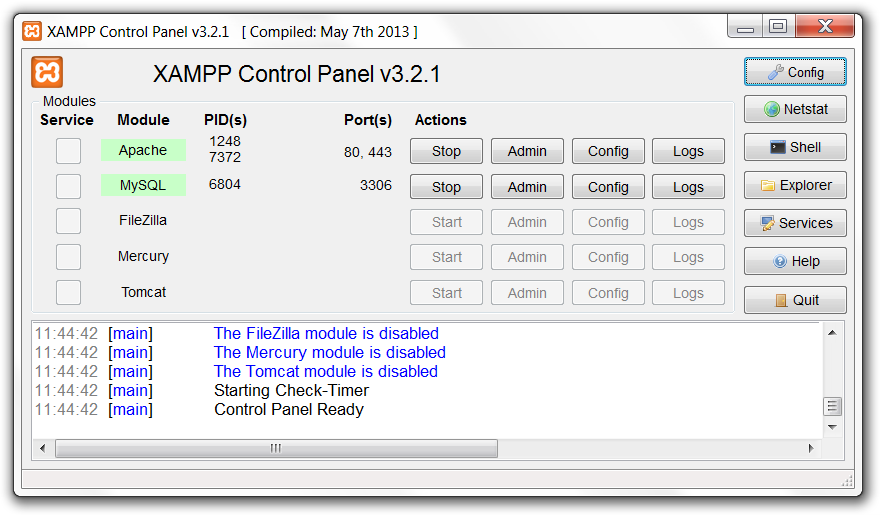
1.3 When the installer has finished, open the XAMPP Control Panel and start Apache and MySQL.
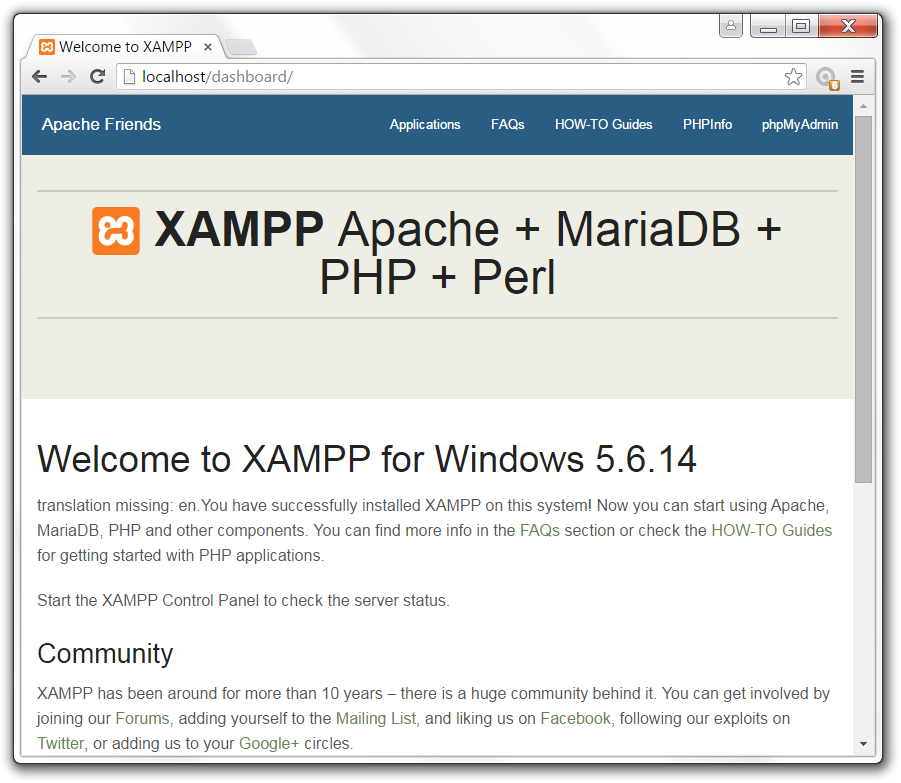
1.4 Check that XAMPP is working by opening your browser and navigating to http://localhost. You should see the XAMPP dashboard.
Note that the webroot of your new http server (http://localhost) is c:\xampp\htdocs.
1.5 XAMPP comes by default with MySQL's root user without a password. You should assign this user a password. To do so, click on "Shell" on the XAMPP control panel:

Then set a password for MySQL root with this command:
mysqladmin --user=root password "the_password_for_root"
Change the_password_for_root to your desired password. Example: set password to "pwd1714":

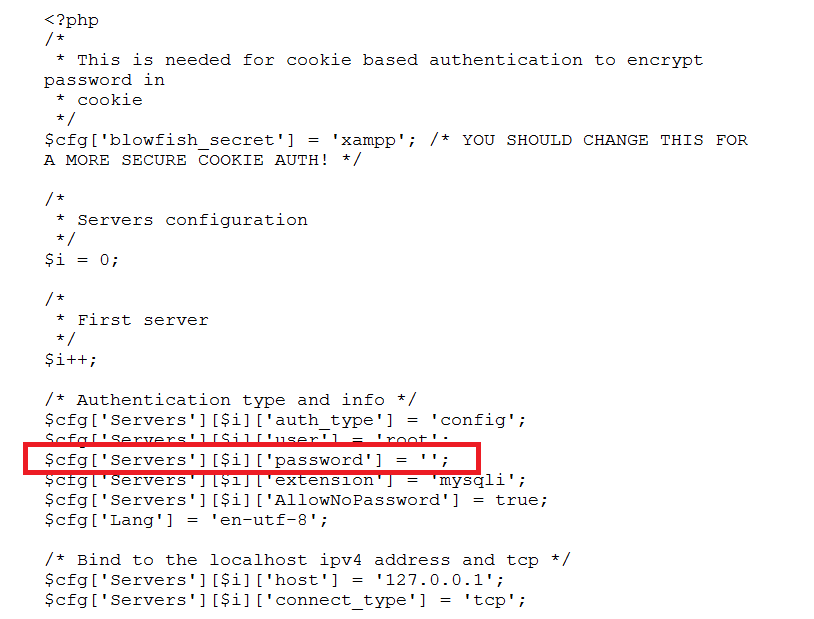
Then enter the password you've just set in the phpMyAdmin configuration file. This file is located at c:\xampp\phpmyadmin\config.inc.php. Edit it with Wordpad and enter the password in $cfg['Servers'][$i]['password'] = '';, like this: $cfg['Servers'][$i]['password'] = 'pwd1714';
1.6 Change the always_populate_raw_post_data setting in php.ini (only PHP 5.6)
Note: this is only required for PHP 5.6+. PHP 7.x doesn't need it.
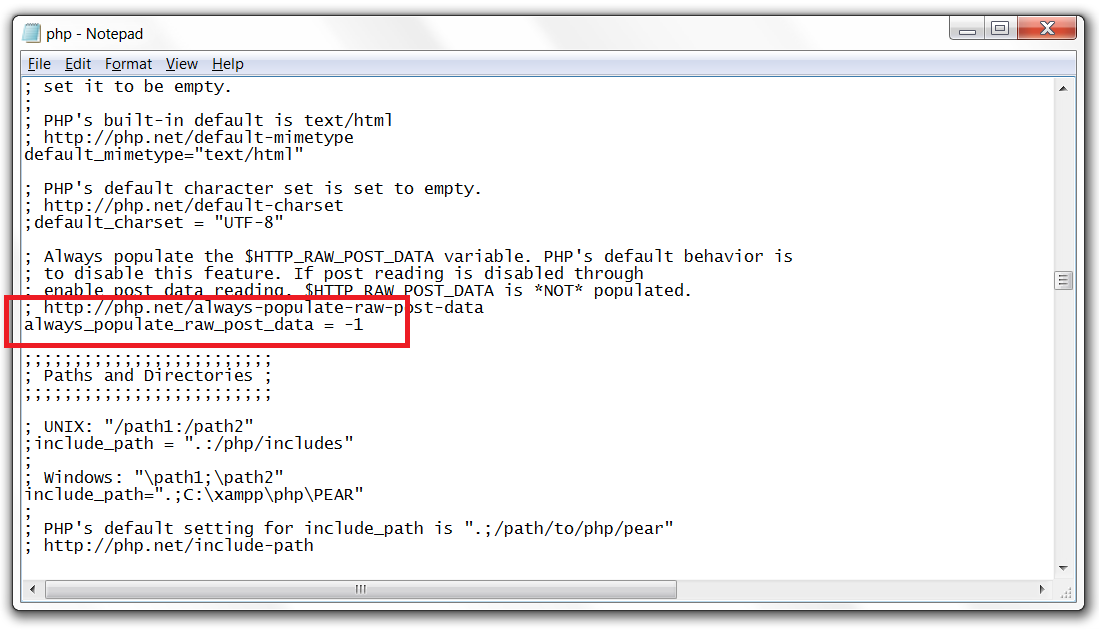
Edit the c:\xampp\php\php.ini configuration file, find the always_populate_raw_post_data setting (which will be commented like this ; always_populate_raw_post_data = On), uncomment it and set it to -1:
2. Installing the Ioncube Loader
Team Password Manager is a PHP app encoded and secured using Ioncube and a loader is required to execute it. To install the Ioncube loader follow these steps:
2.1 Download the loader wizard (loader-wizard.zip) from
2.2 Decompress loader-wizard.zip and copy loader-wizard.php to c:\xampp\htdocs\ioncube.
2.3 Open the Ioncube wizard with the browser:
http://localhost/ioncube/loader-wizard.php
2.4 Follow the wizard instructions. Installing the loader consists in downloading it (the wizard will provide the link), copying the loader to c:\xampp\php\ioncube, referencing it from php.ini, restarting Apache (with the XAMPP control panel) and finally testing it. The wizard will show you a screen similar to this one that has all these steps:
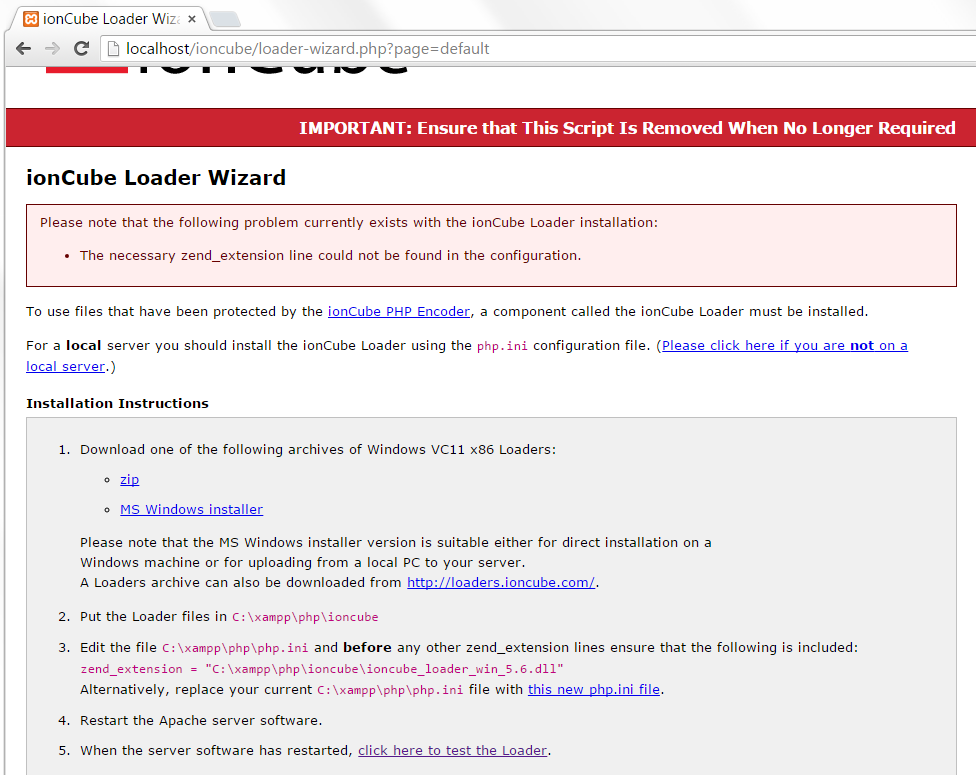
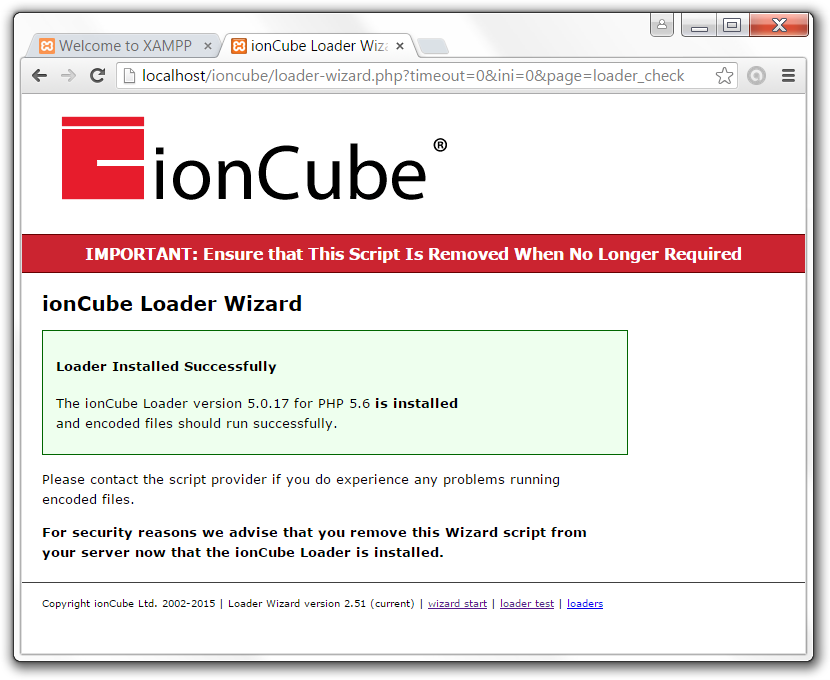
After installing the loader, you should see a screen like this one:
2.5 IMPORTANT!! Delete the wizard (loader-wizard.php) from c:\xampp\htdocs\ioncube.
3. Installing Team Password Manager
At this point all the components required to run Team Password Manager are installed. Let's now install Team Password Manager:
3.1 Create the database and user
3.1.1 Point your browser to http://localhost/phpmyadmin.
3.1.2 Click on the "Databases" tab.
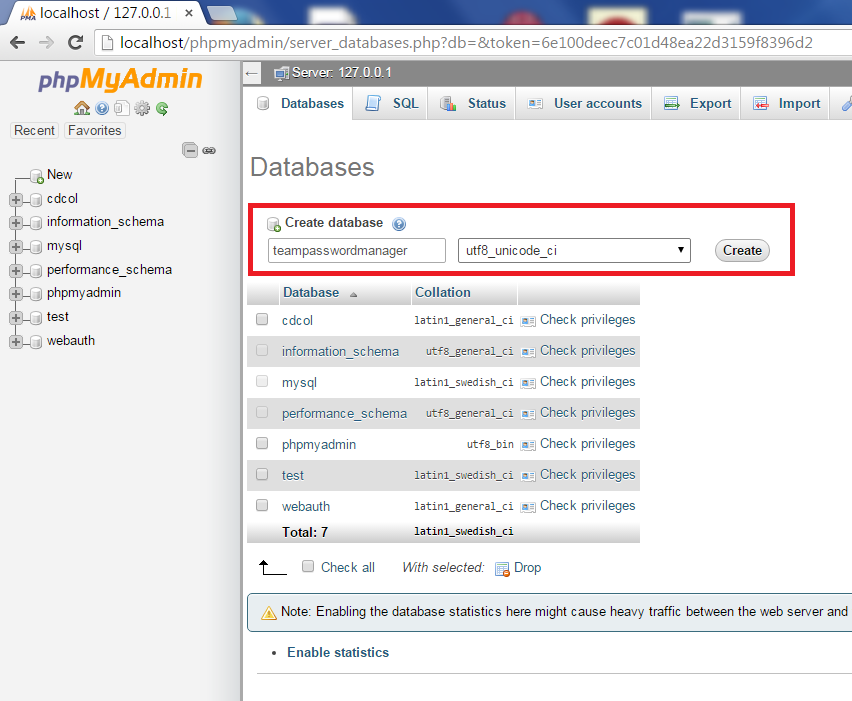
3.1.3 Enter "teampasswordmanager" below "Create database" and choose the "utf8_unicode_ci" collation, then click "Create":
3.1.4 You'll see that the newly created database appears on the left sidebar, click on it and select the "SQL" tab.
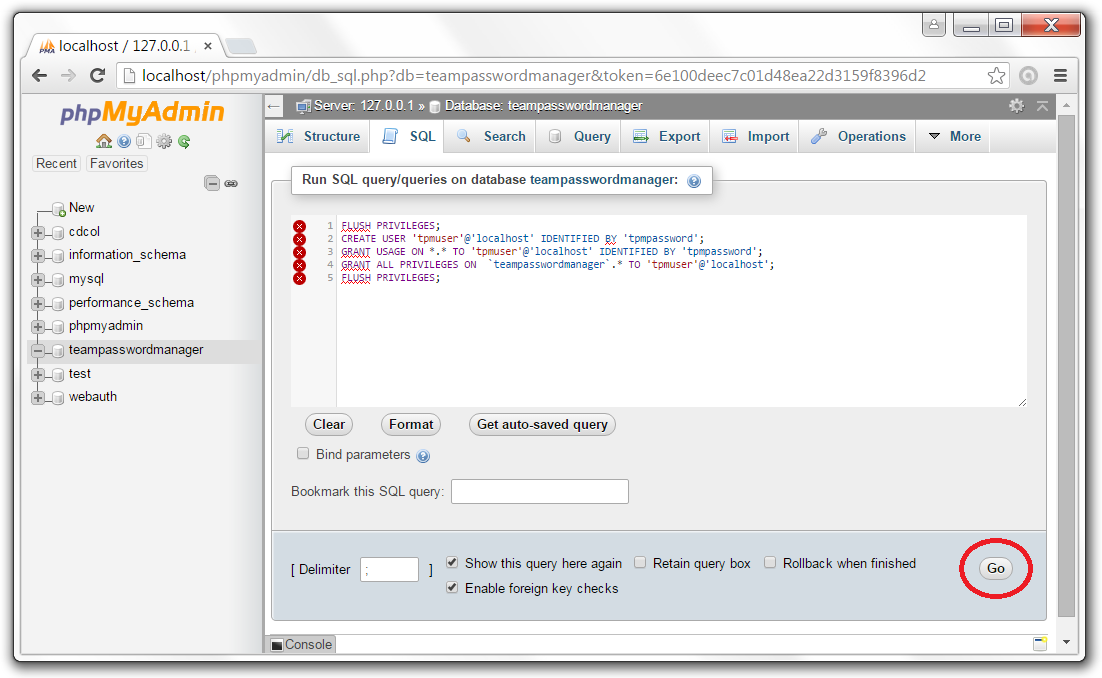
3.1.5 We'll create the user "tpmuser" with password "tpmpassword" for Team Password Manager to work with this database: enter the following commands in the SQL tab (better do a copy and paste) and click "Go":
FLUSH PRIVILEGES;
CREATE USER 'tpmuser'@'localhost' IDENTIFIED BY 'tpmpassword';
GRANT USAGE ON *.* TO 'tpmuser'@'localhost' IDENTIFIED BY 'tpmpassword';
GRANT ALL PRIVILEGES ON  `teampasswordmanager`.* TO 'tpmuser'@'localhost';
FLUSH PRIVILEGES;
3.2 Download and copy the Team Password Manager files
3.2.1 Download the latest version from .
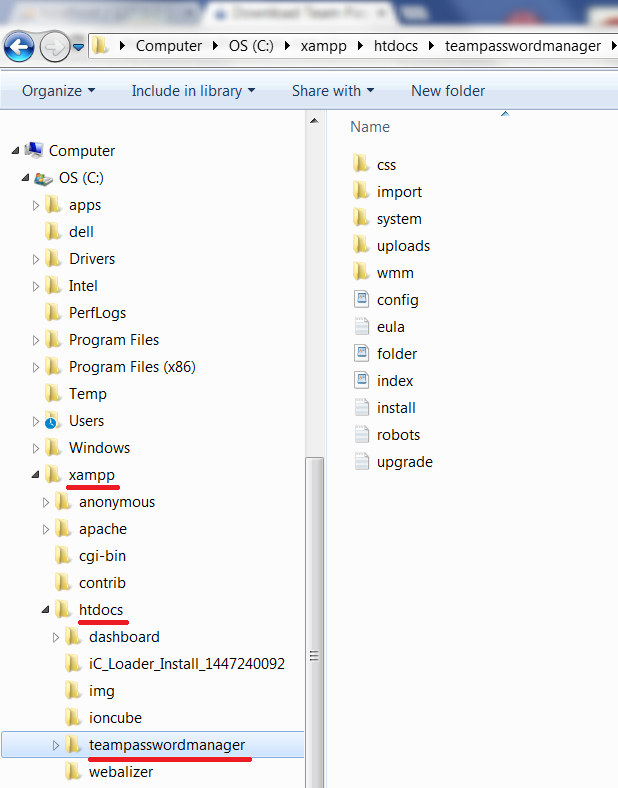
3.2.2 Extract the files into c:\xampp\htdocs\teampasswordmanager:
3.3 Enter database details in config.php
Open config.php using WordPad and replace the following values: CONFIG_USERNAME, CONFIG_PASSWORD and CONFIG_DATABASE:
define('CONFIG_USERNAME', 'tpmuser');
define('CONFIG_PASSWORD', 'tpmpassword');
define('CONFIG_DATABASE', 'teampasswordmanager');
3.4 Execute the install script
3.4.1 Point the browser to:
http://localhost/teampasswordmanager/index.php/install
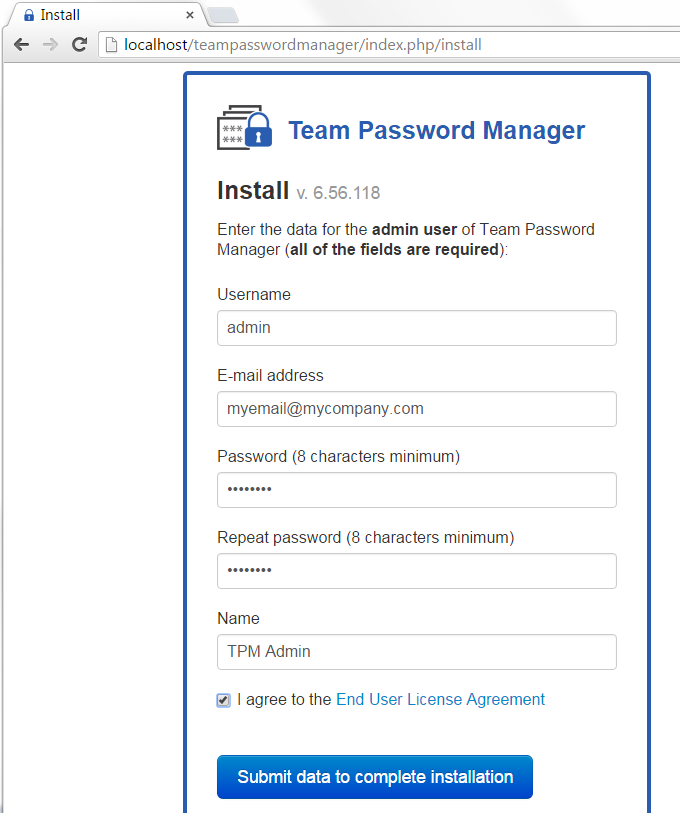
3.4.2 Enter the required fields and click "Submit data to complete installation". If everything is ok, you'll see the following screen:
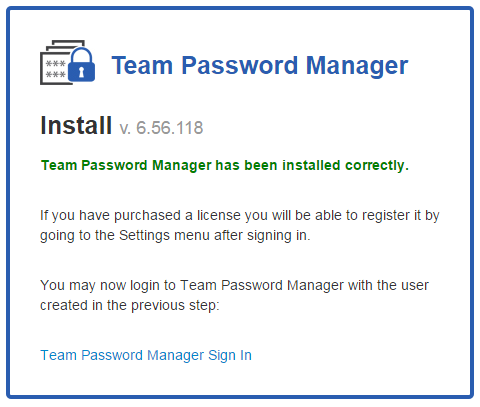
Congratulations, Team Password Manager is installed!
You can now sign in with the username and password just entered. Team Password Manager is free for 2 users and 5 projects, but to fully test it you can get a trial license for 30 days at https://teampasswordmanager.com/trial/.
Installing LDAP support in XAMPP
To enable LDAP in XAMPP do this:
1. From C:\xampp\php copy the following files to C:\Windows\system (not system32):
libeay32.dll
libsasl.dll
ssleay32.dll
2. Find and edit C:\xampp\php\php.ini and uncomment this line (delete the semicolon before it): extension=php_ldap.dll
3. Restart Apache.
